This post may contains affiliate links. Read our full disclosure here.
Late summer brings with it a bittersweet feeling—the warm days still linger, but there’s that undeniable hint of autumn in the cooler evenings and golden afternoon light. This transitional moment is perfect for Summer Flower Pressing, a timeless craft that lets you capture and preserve the beauty of your garden before it fades away. When I first discovered flower pressing years ago, I was amazed at how this simple technique transformed ordinary blooms into lasting keepsakes.
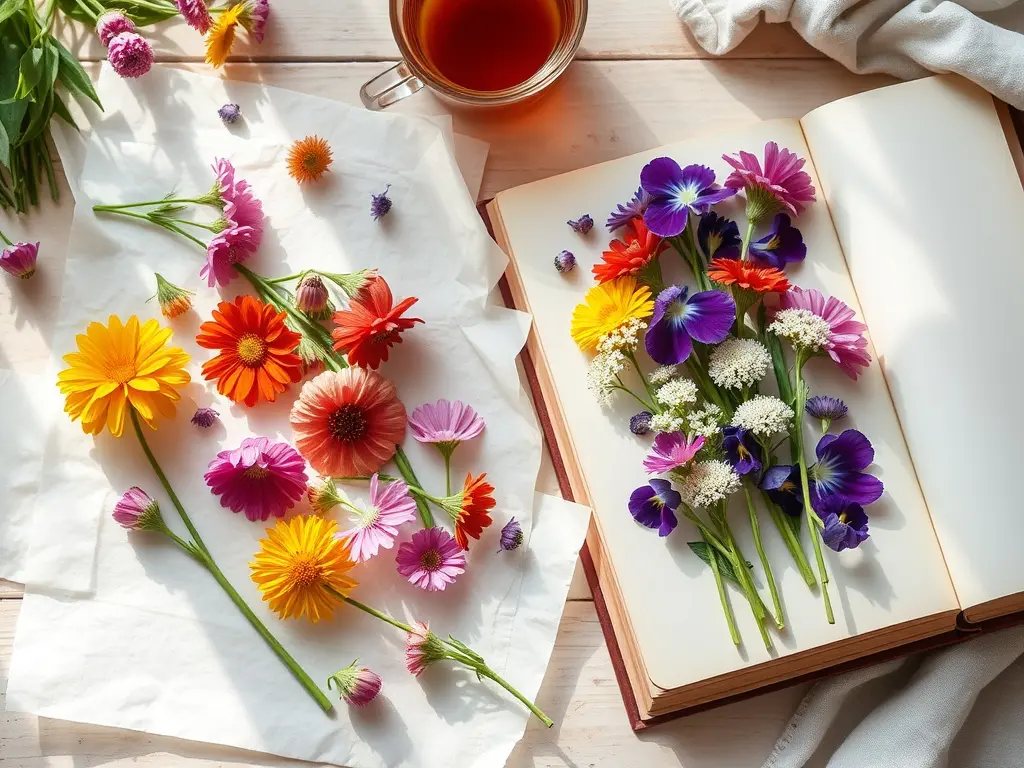
Summer Flower Pressing isn’t just a craft—it’s a way to pause time and create tangible memories from your garden’s finest moments. Whether you’re a seasoned gardener with elaborate flower beds or someone who simply appreciates the wildflowers growing along your daily walking path, pressing flowers allows you to hold onto summer’s charm long after the season changes. The process itself is surprisingly calming, forcing you to slow down and appreciate each petal and leaf.
Why Summer Flower Pressing Matters in Late Summer

Late August and early September gardens offer a final magnificent show before fall takes over. Instead of watching those vibrant blooms slowly wilt away, Summer Flower Pressing gives them new life and purpose. My friend Sarah started pressing flowers from her wedding bouquet, and now she does it every summer as a tradition to remember special moments.
Here’s why Summer Flower Pressing becomes especially meaningful during this seasonal transition:
- Preserve peak bloom moments – Capture your garden’s best flowers at their prime
- Create seasonal keepsakes – Transform fleeting beauty into lasting memories
- Prepare for fall crafting – Stock up on pressed flowers for holiday cards and gifts
- Practice mindfulness – Engage in a slow, deliberate activity that connects you to nature
The beauty of Summer Flower Pressing lies in its simplicity. You don’t need fancy equipment to start—just some basic supplies and flowers from your garden or a local flower arrangement. This accessible craft creates a tangible link between seasons, letting you bring summer’s colors into fall and winter.
“Summer Flower Pressing lets you hold onto the season’s beauty long after the petals have fallen.”
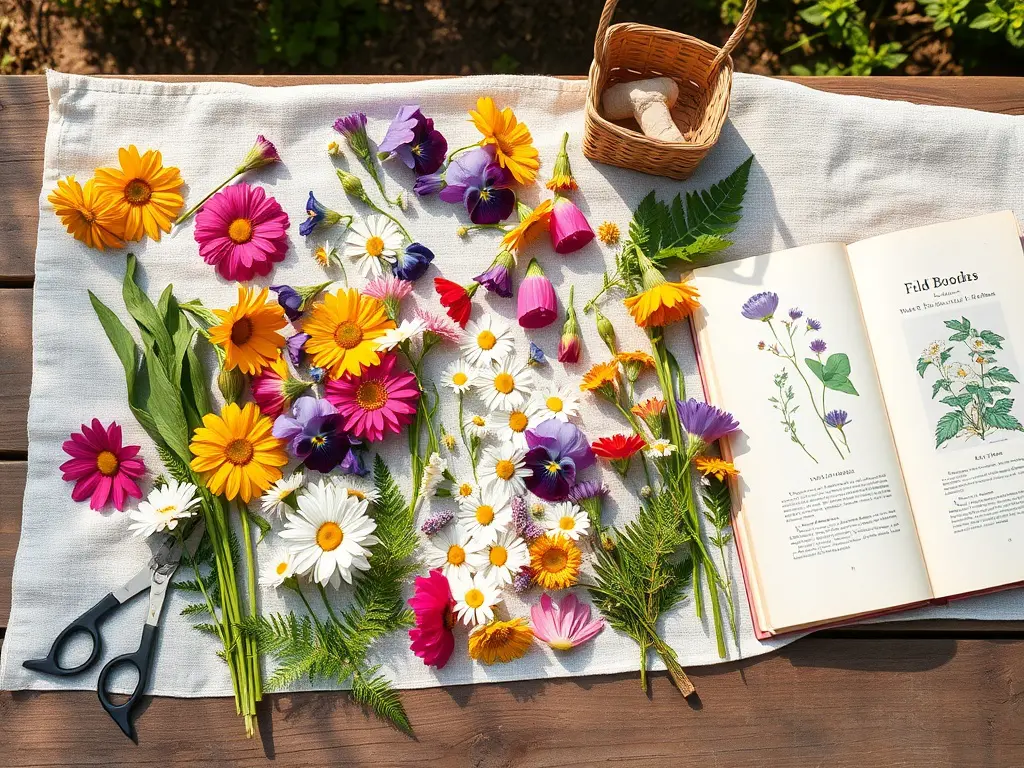
Choosing the Best Flowers for Summer Flower Pressing
Not all blooms are created equal when it comes to pressing. The first time I tried pressing hydrangeas without separating the florets, I ended up with a moldy mess! Through trial and error, I’ve learned which flowers give the best results for Summer Flower Pressing.
- Flat-faced flowers – Pansies, violets, cosmos, and daisies press beautifully
- Delicate blooms – Queen Anne’s lace, larkspur, and forget-me-nots maintain their shape
- Herbs and foliage – Ferns, mint leaves, and lavender add texture and interest
- Late summer favorites – Zinnias, black-eyed Susans, and calendula offer vibrant color
When collecting flowers for pressing, timing is everything. The ideal moment is mid-morning when dew has dried but before the heat of the day causes wilting. Choose flowers that are fully open but not starting to fade or drop petals. For thicker flowers like small roses or carnations, try cutting them in half vertically before pressing.
Pro Tip: If you can’t press your flowers immediately after cutting, wrap the stems in a damp paper towel and store them in the refrigerator for up to 24 hours. This keeps them fresh until you’re ready to begin the pressing process.
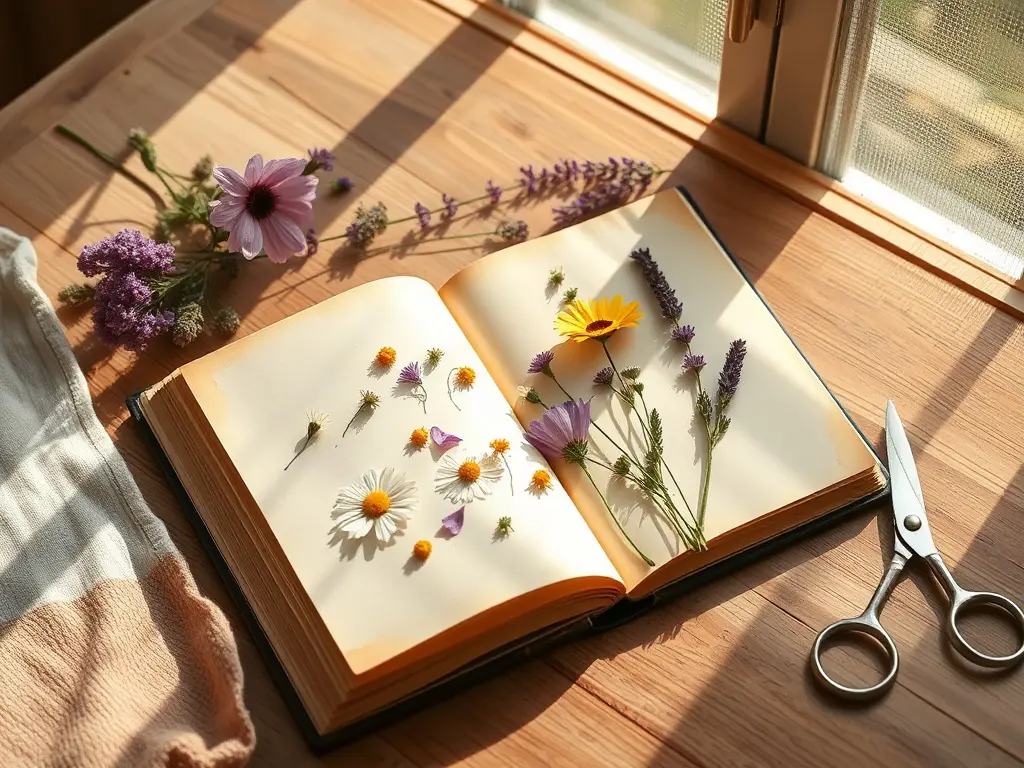
The Traditional Book Pressing Method
The classic book method is where most of us start our Summer Flower Pressing journey—it’s simple, requires no special equipment, and uses items you likely already have at home. When my niece visited last summer, we spent an afternoon collecting flowers and setting up our first pressing project using this method.
- Basic supplies needed – Heavy books (dictionaries or encyclopedias work great), parchment paper or coffee filters, and scissors
- Preparation steps – Trim excess stems and arrange flowers face-down on parchment
- Layering technique – Place another sheet of parchment over flowers, then insert between book pages
- Patience required – This method takes 2-4 weeks for complete drying
To set up your book press, start by selecting blotter material—parchment paper works well, but coffee filters, plain printer paper, or specialized blotting sheets are also good options. Lay your flowers face down on the blotter, making sure petals are arranged as you want them to dry. Cover with another sheet of blotter material, then carefully place this “sandwich” in the middle of your heavy book.
For extra weight and even pressure, stack additional books or a brick on top. Check your flowers after the first week to make sure no mold is developing. If you see moisture, replace the blotting paper and continue pressing. This weekend DIY project requires minimal setup but delivers beautiful results.
Wooden Flower Presses – Best for Consistency
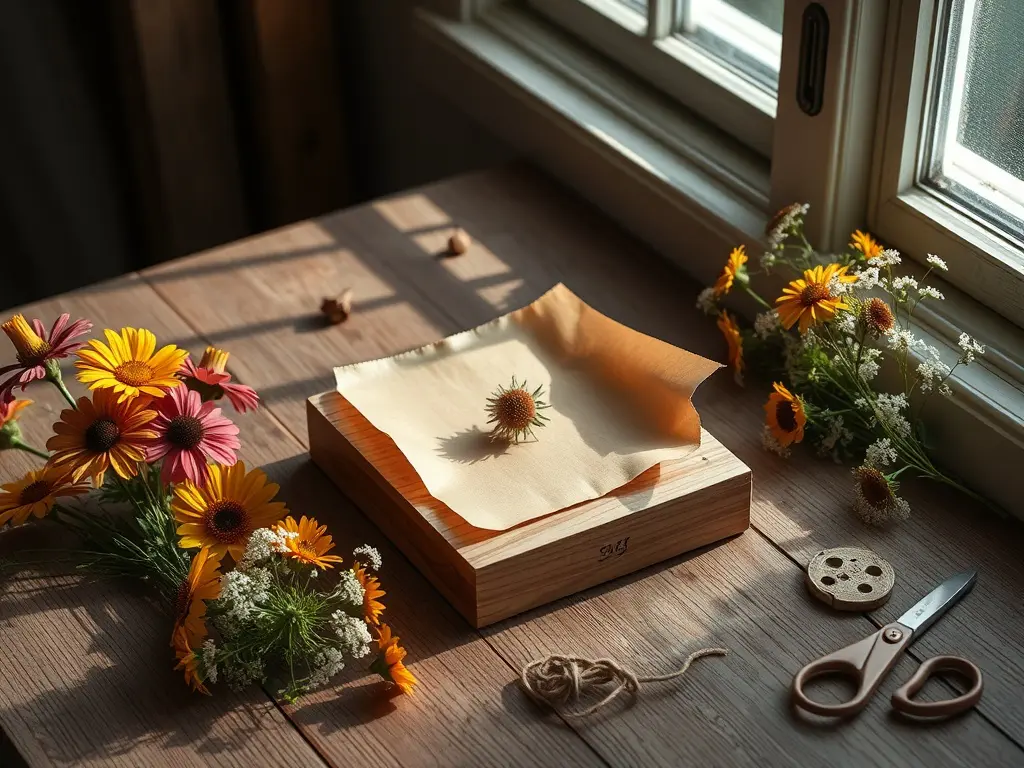
After a few seasons of book pressing, I invested in a wooden flower press, and it dramatically improved my Summer Flower Pressing results. These dedicated presses provide even pressure across all your flowers, reducing the chance of curling or uneven drying.
- Better compression – Wing nuts allow you to tighten the press as flowers dry
- Multiple layers – Most wooden presses include several cardboard sheets for pressing different types of flowers simultaneously
- Faster results – Expect complete drying in 1-2 weeks, faster than the book method
- Long-term investment – A quality press will last for years of seasonal use
Wooden presses range from simple designs with two boards and bolts to more elaborate multi-layered systems. For beginners, a basic 8×8 inch press is perfect for starting out. You can find beautiful handcrafted presses on Etsy or at specialty craft stores. Some even come with blotting paper refills and instruction guides.
When using a wooden press, follow the same basic principles as the book method, but take advantage of the ability to tighten the press every few days as your flowers dry. This ongoing compression is what gives wooden presses their edge in creating perfectly flat, vibrant pressed flowers for your DIY gifts and crafts.
Microwave Flower Pressing – Quick & Reliable Results
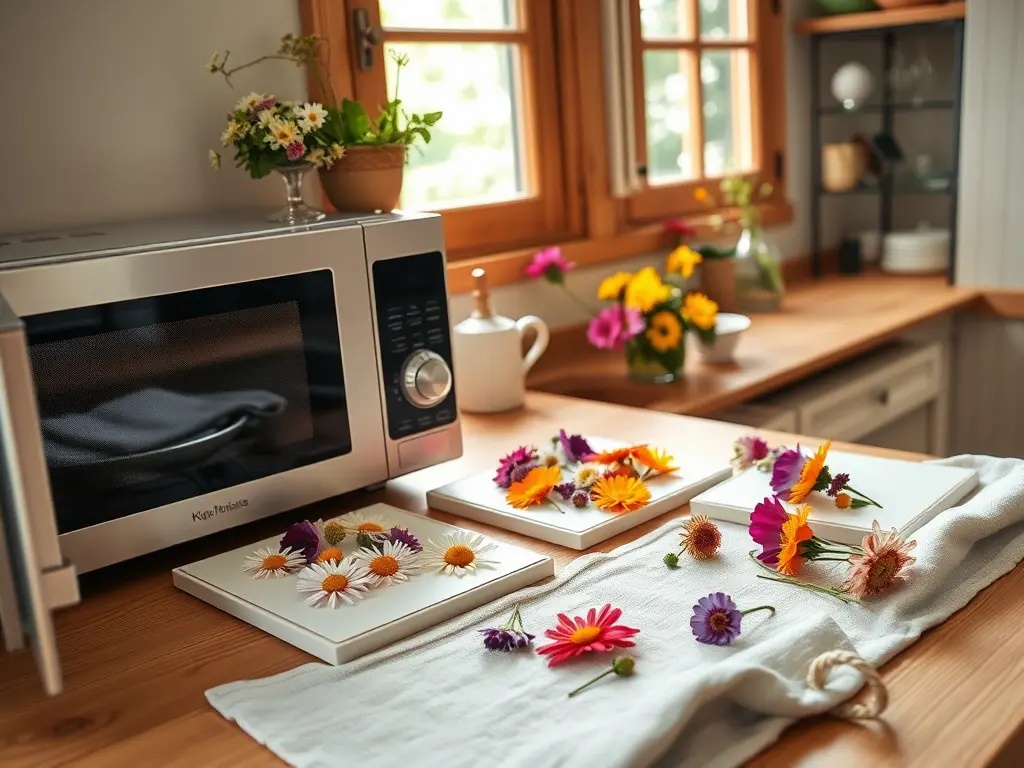
When I needed pressed flowers for my friend’s last-minute bridal shower decorations, traditional methods were too slow. That’s when I discovered microwave pressing—a game-changer for Summer Flower Pressing when you’re short on time. This method can reduce weeks of waiting to mere minutes.
- Lightning-fast process – Complete flower pressing in 30-90 seconds
- Special equipment needed – Microwave press or DIY setup with ceramic tiles
- Careful monitoring required – Short bursts of heating prevent burning
- Immediate crafting – Perfect for same-day projects and last-minute ideas
You can purchase dedicated microwave flower presses online, but a simple DIY version works well too. Place your flowers between sheets of parchment paper, then sandwich between two microwave-safe ceramic tiles. Secure with rubber bands and microwave in 20-30 second intervals, checking between each burst until the flowers feel completely dry to the touch.
Pro Tip: Different flowers require different heating times. Delicate blooms like pansies might need only 20-30 seconds total, while denser flowers like small daisies could require 60-90 seconds. Always start with shorter times and gradually increase to avoid scorching your precious blooms.
This method is especially useful for crafting projects with kids, who typically don’t have the patience for traditional pressing methods. The immediate results keep their enthusiasm high and allow for same-day crafting satisfaction.
Creative Ways to Use Your Pressed Summer Flowers
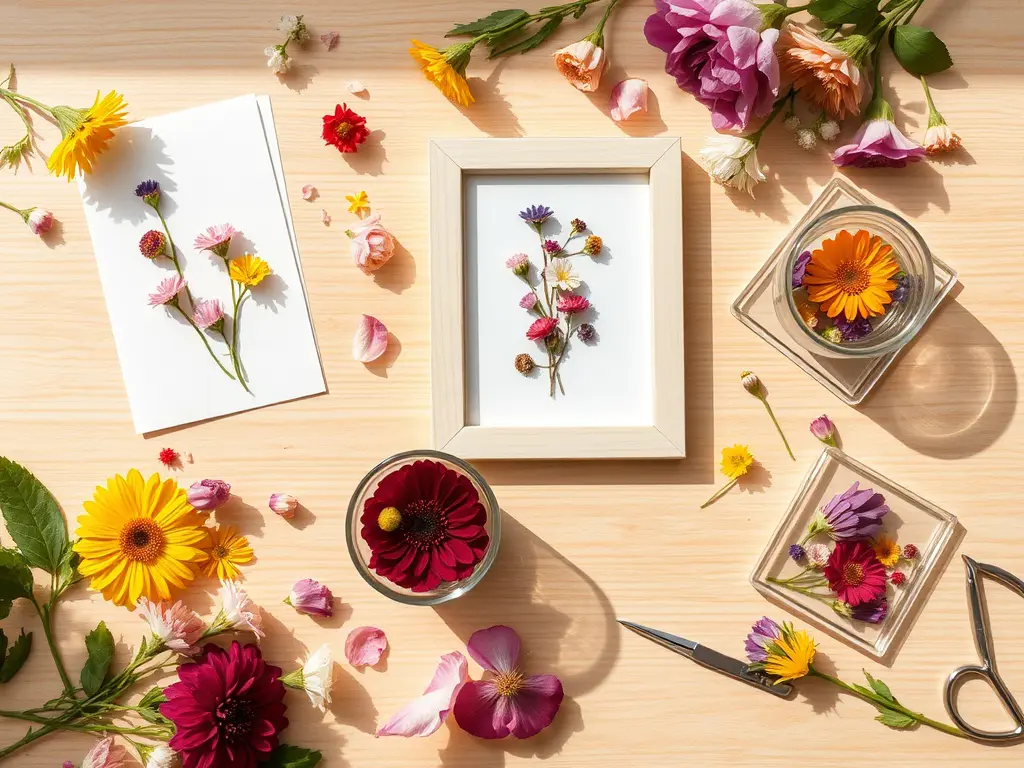
After mastering Summer Flower Pressing techniques, the real fun begins—using your preserved blooms in creative projects. The first time I framed some pressed cosmos and gave them as a housewarming gift, my friend was genuinely touched by the personal handmade nature of the present.
- Framed botanical art – Float pressed flowers between glass frames for elegant wall decor
- Handmade stationery – Create custom cards, bookmarks, or journal covers
- Resin crafts – Embed pressed flowers in coasters, jewelry, or keychains
- Home decor accents – Decorate candles, lampshades, or summer tablescape elements
For a simple yet stunning display, arrange pressed flowers between two glass frames (floating frames work wonderfully) and secure the edges with washi tape or copper tape for a professional finish. This preserves your flowers while showcasing them as art.
Another favorite project is creating custom stationery. Glue small pressed flowers to blank cards, then seal with a thin layer of Mod Podge or a spray fixative. These personal touches make thank-you notes or birthday cards feel extra special and thoughtful.
Pressed flowers also make stunning additions to your home decor. Try pressing flowers from your garden at different times throughout summer, then creating a seasonal display that captures the progression of your garden’s blooms—from early summer poppies to late summer black-eyed Susans.
Keeping Pressed Flowers Vibrant and Preventing Fading
The disappointing moment when you discover your carefully pressed flowers have faded to pale shadows of their former selves is something I’ve experienced firsthand. Fortunately, there are several techniques to help maintain the color and integrity of your Summer Flower Pressing projects for years to come.
- Light protection – Display pressed flowers away from direct sunlight to prevent fading
- Quality materials – Use acid-free paper and UV-protective glass for framed pieces
- Proper sealing – Apply fixative spray to lock in color and protect from air exposure
- Climate control – Store pressed flowers in a cool, dry environment to prevent mold
For pressed flowers you plan to keep in storage, place them between sheets of acid-free tissue paper in a closed box. This protects them from light exposure and dust until you’re ready to use them in projects.
When displaying pressed flower art, consider using UV-protective glass or acrylic in your frames. This small investment makes a huge difference in how long your flowers maintain their original colors, especially for pieces displayed in brighter rooms.
Products like Krylon UV-Resistant Clear Acrylic Coating provide an invisible protective layer that helps preserve color. Apply in thin layers, allowing each to dry completely before adding another. This creates a barrier against moisture and oxygen, two elements that contribute to fading.
Capturing Summer’s Beauty One Petal at a Time
Summer Flower Pressing offers a wonderful way to slow down and appreciate the fleeting beauty that surrounds us during the warmer months. There’s something deeply satisfying about preserving a perfect bloom at its peak—capturing a moment of summer to revisit during colder, darker days.
The craft connects us to generations past who used similar techniques to preserve botanical specimens and memories. Yet it remains perfectly relevant today as we seek meaningful, screen-free activities that help us reconnect with nature and our creative selves.
Whether you’re pressing flowers from a special occasion bouquet, documenting your garden’s seasonal progression, or simply preserving a wildflower that caught your eye during an evening walk, each pressed bloom tells a story. These delicate natural keepsakes become tiny time capsules—reminders of summer days, garden achievements, and outdoor adventures.
Ready to start your own Summer Flower Pressing journey? The beauty lies in its accessibility—begin with the simple book method using supplies you already have, then explore other techniques as your interest grows. Your garden’s late summer blooms are waiting to be transformed into lasting memories that will bring joy long after the growing season ends.