This post may contains affiliate links. Read our full disclosure here.
Learning how to make apple wine at home isn’t just for vintners or wine experts – it’s a rewarding DIY project anyone can tackle with basic equipment and a bit of patience. After trying it with a few friends last fall, I realized that homemade apple wine is one of those perfect autumn projects that fills your kitchen with amazing aromas and eventually your wine rack with bottles you’ll be proud to share. Whether you’re looking for a new hobby or want to make use of that apple bounty, this apple wine recipe delivers a crisp, refreshing drink that’s completely customizable to your taste preferences.
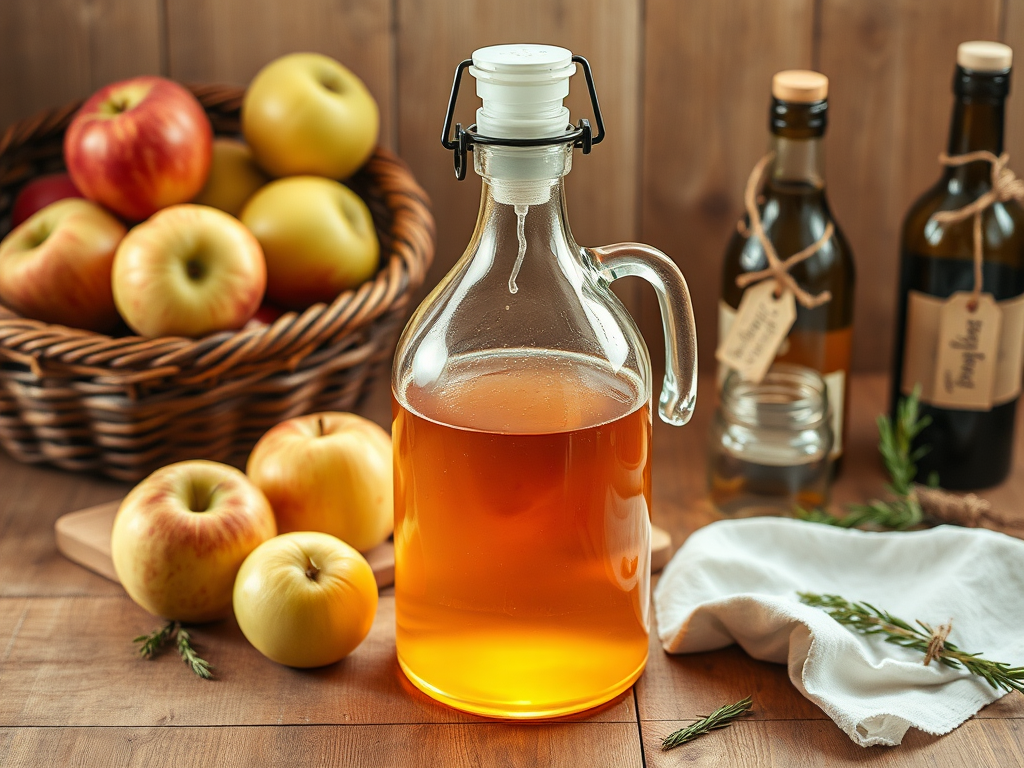
The process of how to make apple wine at home combines simple science with creativity, resulting in a light, fruit-forward beverage that’s perfect for sipping year-round. No fancy winery equipment needed – just some basic supplies, fresh ingredients, and about 3-6 months of patience. Trust me, that first sip of wine you’ve crafted yourself makes the wait worthwhile!
Why You Should Learn How to Make Apple Wine at Home
After my first batch of apple wine, I immediately understood why home winemaking has such devoted followers. Unlike commercial wine production, making apple wine at home allows for complete creative control over the process. You decide the sweetness level, alcohol content, and even which apple varieties to use – creating something uniquely yours.
The economics make sense too. One gallon of homemade apple wine costs roughly $15-20 in ingredients but yields 4-5 bottles worth. Compare that to buying craft apple wine at $12-18 per bottle! Plus, the equipment is a one-time investment that you’ll use for future batches of apple wine or other fruit wines like pear.
There’s also something deeply satisfying about the hands-on nature of home winemaking. From selecting apples to designing custom labels, each step connects you to traditional food preservation methods our grandparents knew well. The process itself is straightforward enough for beginners yet offers enough complexity to keep you learning with each batch.
“Homemade wine isn’t just a drink—it’s a small act of self-sufficiency and celebration.”
Essential Ingredients and Equipment
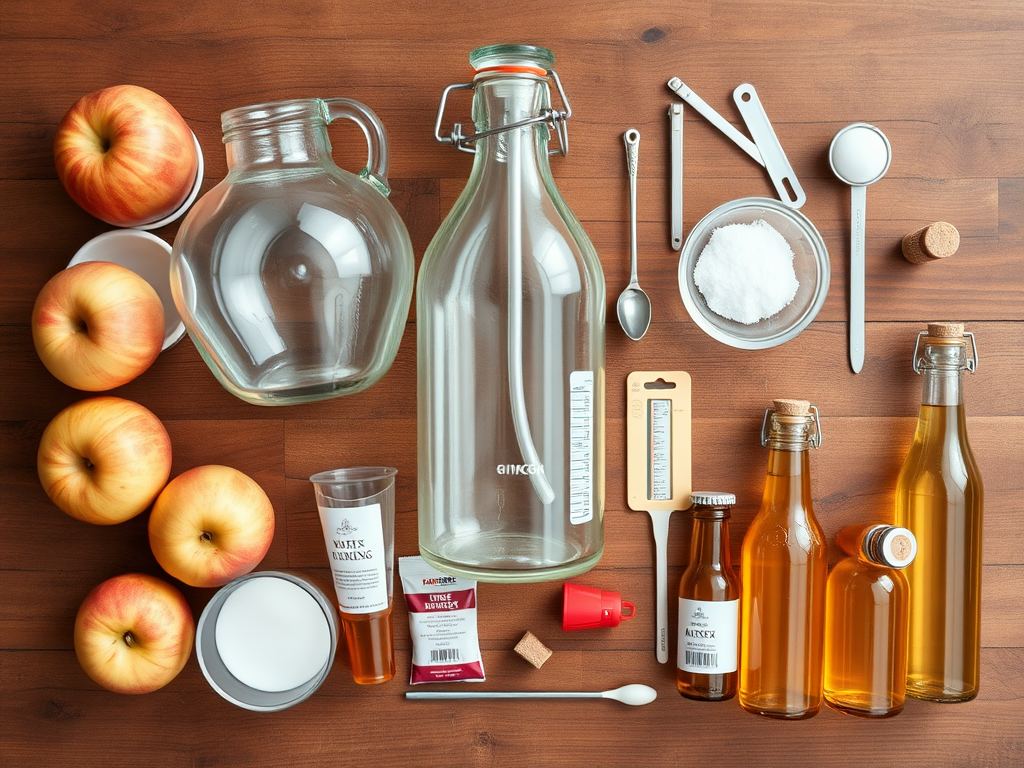
When learning how to make apple wine at home, gathering the right supplies is your crucial first step. The beauty of this hobby is that you don’t need professional-grade equipment to get started – just these essentials:
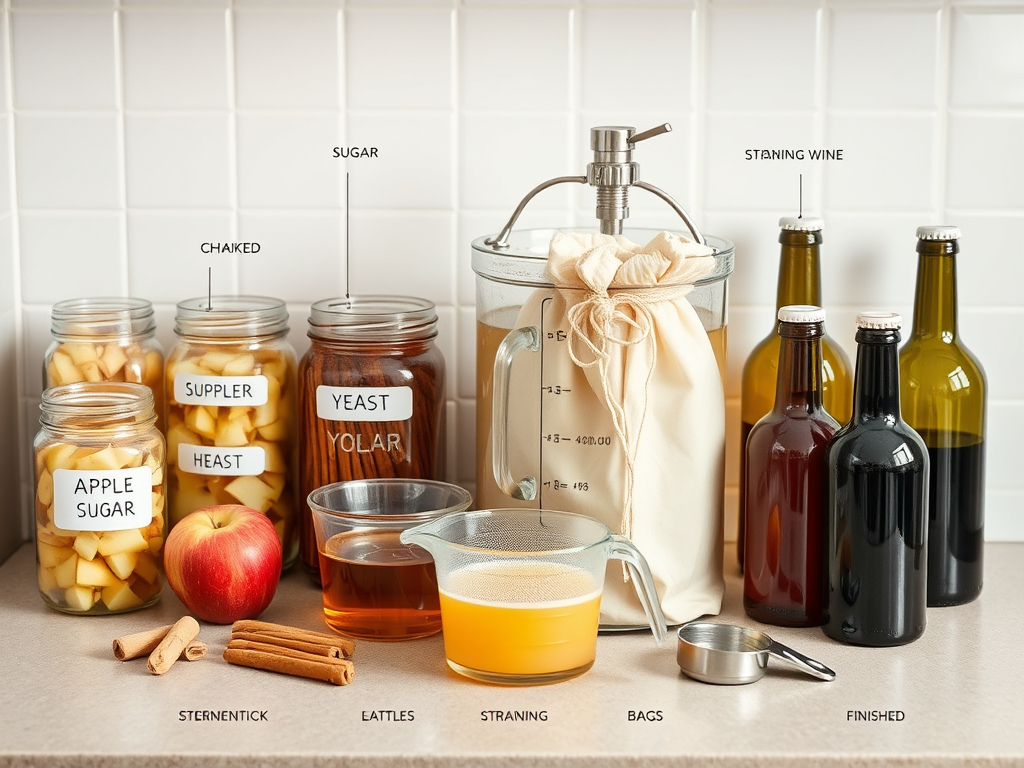
Core Ingredients:
- Fresh apples or juice – Approximately 12-15 pounds of apples or 1 gallon of preservative-free juice
- Granulated sugar (2-3 pounds per gallon)
- Wine yeast (Lalvin EC-1118 or Lalvin 71B work wonderfully)
- Campden tablets (potassium metabisulfite)
- Optional additives: pectic enzyme, yeast nutrient, acid blend, wine tannin
Basic Equipment:
- Primary fermentation vessel (food-grade bucket with lid)
- Secondary fermentation vessel (glass carboy or jug)
- Airlock and rubber stopper
- Food-grade siphon tubing
- Hydrometer (for measuring sugar/alcohol)
- Sanitizer (Star San is popular among homebrewers)
- Wine bottles, corks, and corker
My friend Sarah found most of her equipment in a beginner’s wine kit from her local homebrew shop, which made the initial investment much simpler. Online retailers like Northern Brewer and MoreWine also offer complete starter kits specifically for fruit wines. Whatever your source, the absolute most important rule is keeping everything sanitized throughout the process.
If you’re feeling uncertain about specialized ingredients like pectic enzyme, don’t worry – while helpful for clarity, they’re not strictly necessary for your first batch. Focus on the must-haves: quality juice, proper yeast, and clean equipment. As you learn how to make apple wine at home and refine your technique, you can experiment with the additional elements that produce better aging potential and clarity.
How to Make Apple Wine at Home: Step-By-Step Process
After making several batches of apple wine, I’ve refined this process to be as straightforward as possible. Each step builds toward creating that perfect balance of crispness and apple character we’re after. Let’s break down how to make apple wine at home into manageable stages:
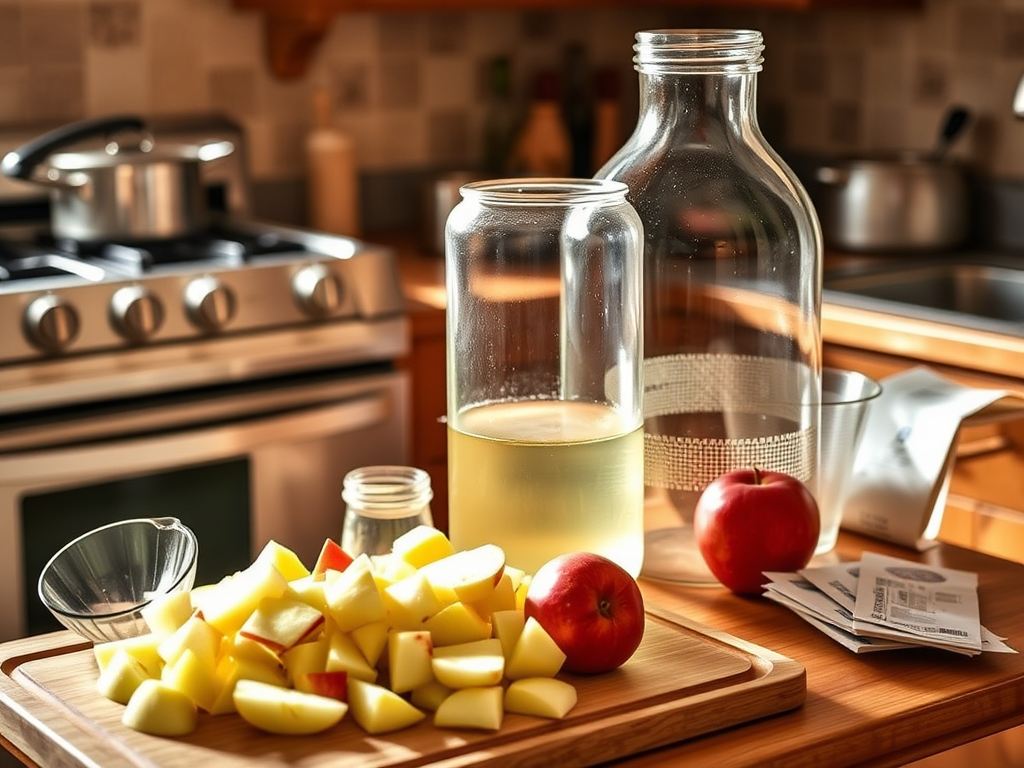
1. Prepare Your Juice Base
If using whole apples, wash them thoroughly, remove stems and any bad spots, then cut into quarters. You don’t need to core them – the seeds add pleasant complexity to the finished wine. Run them through a juicer or crush them in a fruit press. For maximum juice extraction, consider freezing the apples overnight first, then thawing before pressing. If using store-bought juice, make absolutely certain it’s free from preservatives like potassium sorbate or sodium benzoate, which will prevent fermentation.
2. Adjust Sugar and Add Treatments
Pour your juice into a sanitized primary fermenter. Dissolve 2-3 pounds of sugar in a small amount of warm water and add to the juice. The amount depends on your desired sweetness and alcohol level – more sugar means higher potential alcohol. If using additives, now’s the time to add pectic enzyme (helps break down fruit pectin) and acid blend if needed. Stir thoroughly until sugar is completely dissolved.
3. Sterilize and Prepare for Yeast
Crush one Campden tablet per gallon of juice, add to your mixture, then stir. Cover loosely with a clean cloth and let sit for 24 hours. This critical waiting period allows the Campden tablet to kill wild yeasts and bacteria while the chemical dissipates enough to not harm your wine yeast. Skip this step and you risk unpredictable fermentation!
4. Pitch Your Yeast
After the 24-hour waiting period, sprinkle your wine yeast over the surface of the juice or follow the rehydration instructions on the yeast package. Seal your fermenter with an airlock-fitted lid. The airlock allows carbon dioxide to escape without letting oxygen or contaminants in. Keep your fermenter at room temperature (65-75°F) for best results.
5. Primary Fermentation
Within 24-48 hours, you should see active bubbling as fermentation begins. This primary fermentation will be vigorous for 5-7 days. Stir gently once daily with a sanitized spoon to keep the developing wine aerated. After about a week, when bubbling slows significantly, it’s time to transfer to secondary fermentation.
6. Secondary Fermentation and Aging
Using sanitized siphon tubing, carefully transfer your young wine to a glass carboy or jug, leaving sediment behind. Fill to within 2 inches of the top, attach an airlock, and store in a cool, dark place. The secondary fermentation and aging process continues more slowly for 3-6 months. During this time, your apple wine will clarify naturally and develop more complex flavors, similar to how plum wine develops during aging.
7. Bottling Your Finished Wine
Once your wine is clear and hasn’t produced bubbles in the airlock for at least two weeks, it’s ready to bottle. Sanitize your bottles, siphon tubing, and corks. Siphon the wine into bottles, being careful not to disturb any sediment at the bottom. Cork the bottles and store upright for about three days, then lay them on their sides in a cool, dark place for further aging if desired.
Understanding Apple Wine’s Taste and Character
When you’re first learning how to make apple wine at home, understanding what your finished product should taste like helps guide your production choices. Unlike grape wines with centuries of established profiles, apple wine offers wonderful flexibility in styles. The finished wine typically presents as bright and fruit-forward, falling somewhere between a crisp white wine and a light cider in character.
The apple varieties you choose dramatically influence the final taste. Sweet dessert apples like Fuji, Gala, or Golden Delicious create smoother, rounder wines with pronounced fruit notes. Tart varieties like Granny Smith or Braeburn contribute acidity and structure that helps the wine feel balanced rather than cloying. For my favorite batches, I’ve used a blend of 75% sweet and 25% tart apples to achieve the perfect balance.
In terms of body, apple wine is naturally lighter than most grape wines, with a pleasant crispness that makes it especially refreshing when chilled. It lacks the heavy tannins of red wine unless you specifically add wine tannin during production. The alcohol content typically ranges from 10-14% ABV depending on your sugar additions and yeast selection.
One characteristic that separates excellent apple wine from merely good batches is the aromatic quality. Well-made apple wine carries delicate floral notes alongside the fruit, similar to what you might experience with currant wine but with apple’s distinctive personality. The aroma develops significantly during aging, becoming more complex and integrated.
Flavor Development Tips:
- For sweeter wine, you can back-sweeten after fermentation completes
- Add a cinnamon stick during secondary fermentation for warm spice notes
- Use a small percentage (5-10%) of crabapples for increased structure
- A touch of oak (chips or cubes) adds vanilla notes and complexity
- Consider adding a small amount of honey instead of all sugar for depth
Troubleshooting Common Issues When Making Apple Wine
Even when following instructions carefully, sometimes learning how to make apple wine at home comes with unexpected challenges. After talking with my homebrewing circle, I’ve compiled solutions to the most common problems you might encounter:
Fermentation Won’t Start
If your wine doesn’t show signs of fermentation within 48 hours, the most likely culprits are temperature, preservatives, or dead yeast. First, check that your fermentation area is warm enough (65-75°F is ideal). If using store-bought juice, double-check for hidden preservatives that might be inhibiting yeast activity. As a last resort, try pitching a new, properly rehydrated yeast starter to jumpstart fermentation.
Cloudy Wine That Won’t Clear
Apple wines can be stubborn about clearing due to natural pectin content. If your wine remains cloudy after 3 months in secondary fermentation, you can add pectic enzyme (even at this late stage) to help break down remaining pectin. For persistent haze, consider using a fining agent like bentonite clay, which pulls suspended particles out of solution. Most importantly, be patient—sometimes an extra month or two of aging resolves clarity issues naturally.
Off-Flavors or Aromas
Medicinal or band-aid aromas typically indicate a sanitation issue. For future batches, be even more vigilant about cleaning and sanitizing. Vinegar smells suggest acetobacter contamination (exposure to oxygen), while rotten egg odors point to stressed yeast. The good news is that some minor off-aromas blow off with aging. For serious problems, blending with a clean batch can sometimes salvage your wine.
Too Sweet or Too Dry
If your finished wine doesn’t match your sweetness preference, adjustments are possible. For wine that fermented too dry, you can back-sweeten by adding a stabilizer (potassium sorbate plus Campden tablet) to prevent refermentation, then adding simple syrup to taste. Wine that remained too sweet might benefit from blending with a drier batch or additional aging time to integrate the sugars better.
Remember that minor imperfections often resolve during the aging process, similar to how mulberry wine needs time to mellow. The homebrewing motto applies well to apple wine: “Don’t panic, let it sit.”
Where to Find Inspiration and Further Resources
My journey learning how to make apple wine at home became much richer after connecting with resources beyond basic recipes. If you’re ready to expand your knowledge or find inspiration for your next batch, here’s where to look:
Community Resources:
- Local homebrew shops offer personalized advice and often host workshops
- Online forums like HomeBrewTalk have dedicated fruit wine sections
- Facebook groups like “Fruit Wine Makers” provide community support
- County fair wine competitions let you taste others’ creations and get feedback on yours
- Community colleges occasionally offer winemaking classes
For those who prefer learning from books, “The Complete Guide to Making Your Own Wine at Home” by John Peragine offers excellent fruit wine sections, while Terry Garey’s “The Joy of Home Winemaking” remains a classic reference with several apple wine variations. These guides go deeper into the science aspects that streamlined online recipes often skip.

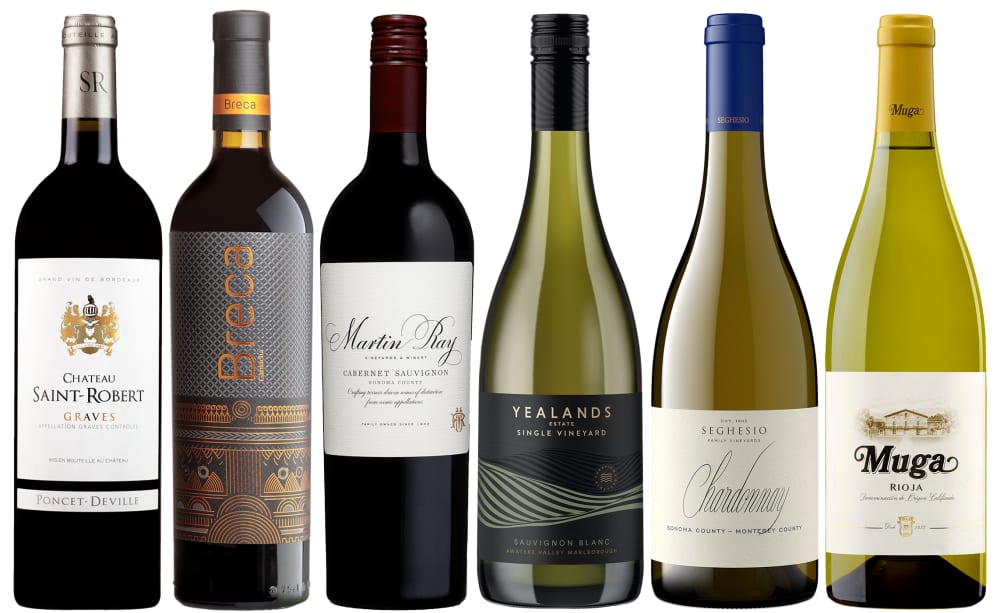
When you’re ready to taste commercial examples for inspiration, these producers make excellent apple wines that ship to many states:
- Leelanau Cellars Farm Fresh Apple Wine ($10-12) – Semi-sweet with bright varietal character
- Burnt Timbers Apple Wine ($14-16) – Crafted from heritage apple varieties
- Boa Vista Vineyards Apple Wine ($13-15) – Balanced with notes of crisp orchard fruit
Visiting apple-growing regions during harvest season can provide immersive learning opportunities. Many orchards now offer winemaking workshops alongside traditional cider making demonstrations. The Pacific Northwest, Michigan, and New York’s Hudson Valley all have vibrant apple wine scenes worth exploring.
Reference Table: How to Make Apple Wine at Home Timeline
| Stage | Equipment Needed | Time Required | Key Success Factors |
|---|---|---|---|
| Juice Preparation | Juicer/press or bottled juice | 30-60 minutes | Fresh, preservative-free apples or juice |
| Sugar & Additives | Measuring tools, hydrometer | 15-20 minutes | Proper sugar levels for desired alcohol |
| Primary Fermentation | Bucket with airlock | 5-10 days | Consistent temperature, daily stirring |
| Secondary Fermentation | Glass carboy/jug | 3-6 months | Limited oxygen exposure, patience |
| Bottling & Aging | Bottles, corks, corker | 1 hour + optional aging | Proper sanitation, minimal sediment transfer |
Apple Wine: From Your Kitchen to Your Glass
Learning how to make apple wine at home has become one of my favorite autumn traditions. There’s something deeply satisfying about transforming a basket of orchard apples into bottles of handcrafted wine that captures the essence of the season. The process connects us to centuries-old food preservation practices while creating something uniquely personal.
Each batch tells its own story – the apples selected, the sweetness level chosen, even the weather conditions during fermentation contribute to the final character. That’s what makes homemade wine so special compared to commercial versions. Your apple wine becomes an expression of your taste and patience, a true reflection of your personal touch.

Starting with this relatively simple fruit wine opens doors to more advanced winemaking projects later. The skills you develop making apple wine transfer perfectly to creating other fruit wines, meads, or even traditional grape wines if your interest grows. Many home winemakers find apple wine the perfect gateway to a fulfilling hobby that spans decades.
So grab those apples, sanitize your equipment, and start your first batch. In a few months, you’ll be pouring glasses of something truly special – wine that traveled mere feet from creation to consumption, made with your own hands. That first sip of homemade apple wine, shared with friends who appreciate the effort behind it, delivers satisfaction that store-bought wine simply can’t match.