This post may contains affiliate links. Read our full disclosure here.
Last summer, I discovered that creating an incredible wine tasting experience doesn’t require a trip to Napa or a massive budget. With just a few affordable supplies and some creativity, I transformed my simple backyard into a charming wine-tasting oasis that had my friends asking when we’d do it again. The warm evening air, twinkling lights, and clinking glasses created an atmosphere that felt far more luxurious than the price tag suggested.
I’m excited to share exactly how I pulled off this budget-friendly backyard wine tasting that felt anything but cheap. Whether you’re a wine enthusiast wanting to host friends without breaking the bank or simply looking for a fun outdoor gathering idea, this guide will walk you through the entire process. From setting the scene to selecting affordable wines that taste expensive, I’ve got you covered with practical tips that anyone can implement.
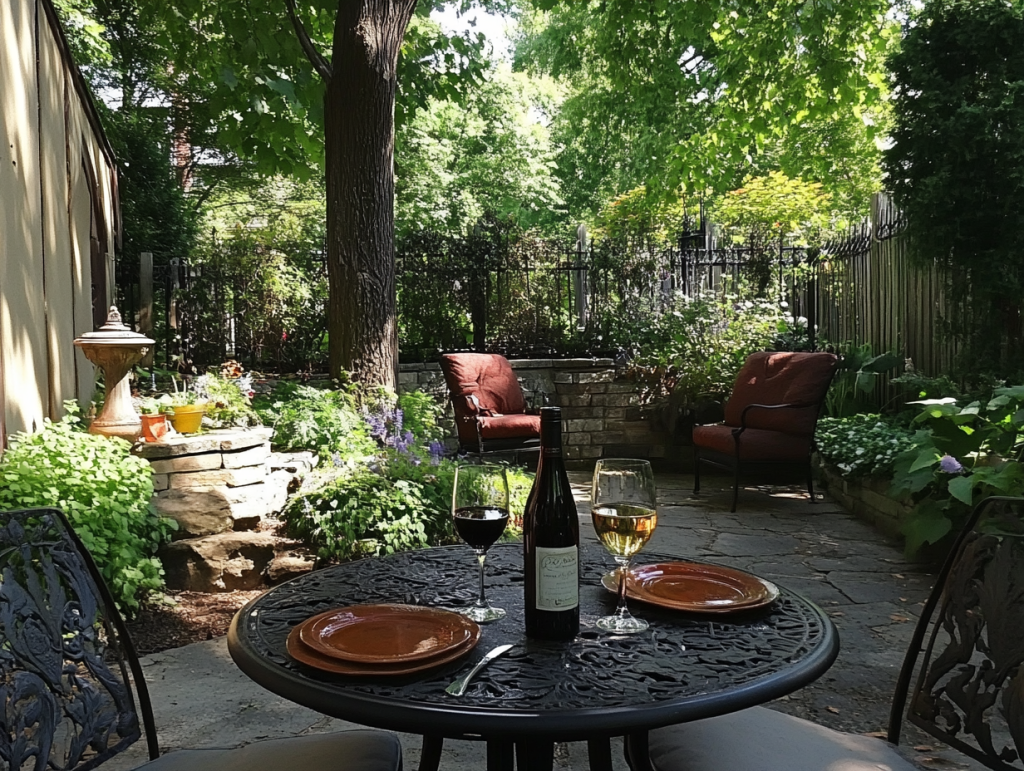
Creating a Cozy Backyard Wine Tasting Atmosphere
The beauty of hosting a wine tasting at home is that you don’t need fancy equipment or expensive décor. I started by assessing what I already owned and discovered I had most of what I needed. For seating, I skipped renting tables and chairs and instead created a bohemian picnic setup using blankets, outdoor pillows, and floor cushions arranged on the grass.
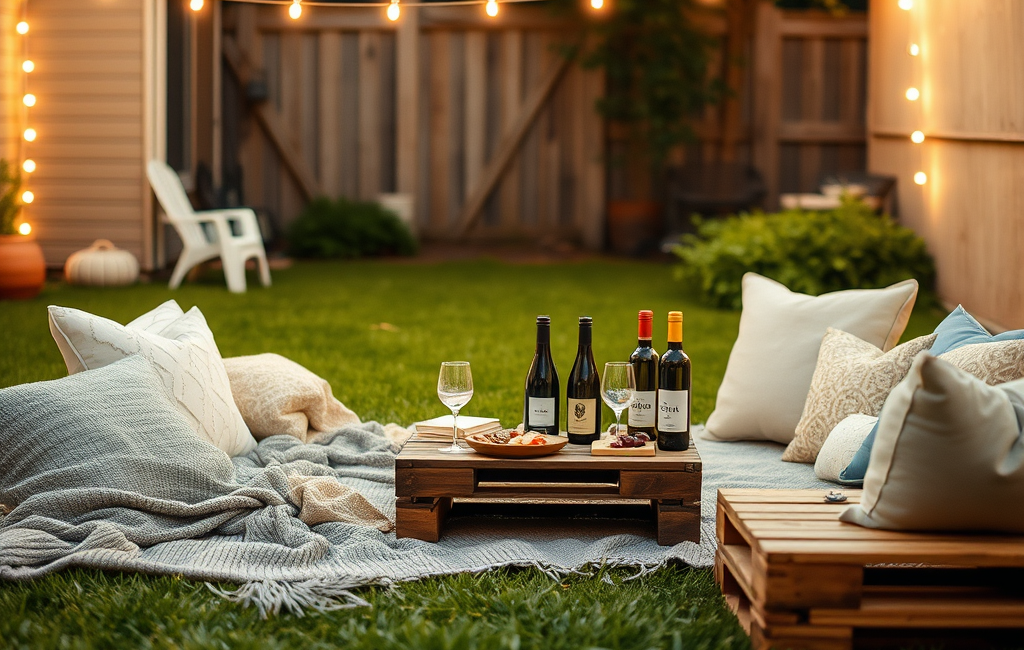
String lights made the biggest impact for the smallest investment. I found a $20 set at Target that instantly transformed my backyard into a twinkling wonderland when strung between trees and along my fence. The soft glow created exactly the right ambiance for wine tasting as the sun began to set.
For tables, I visited a local grocery store and asked if they had any spare wooden crates or pallets. They were happy to give me several for free! I stacked them in various configurations to create different height surfaces for displaying wines and placing glasses. A quick sanding and a coat of leftover paint made them look intentional rather than recycled.
Budget-Friendly Wine Selections That Impress
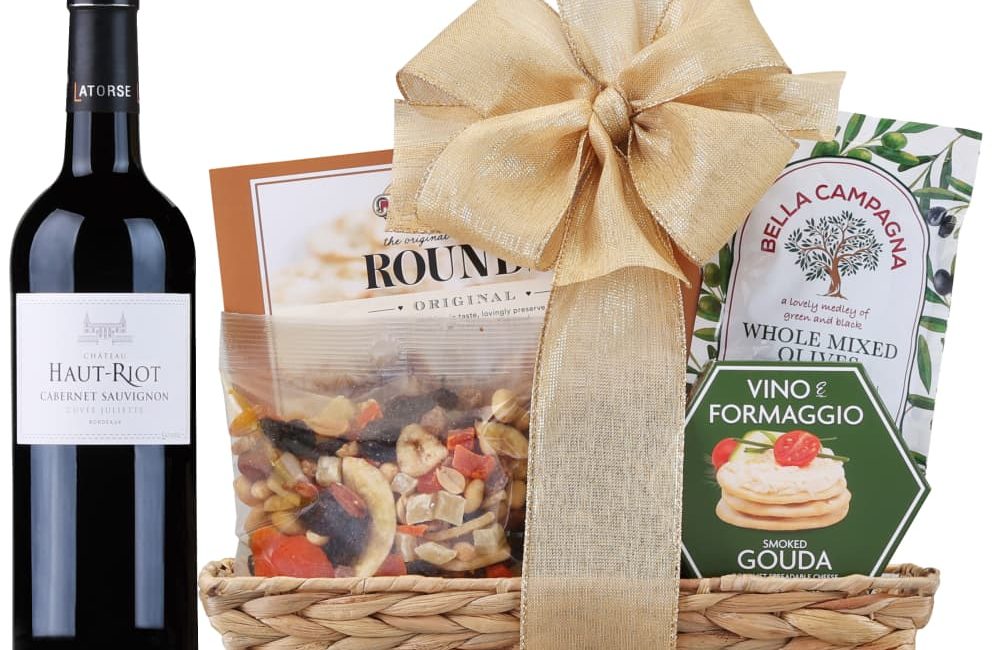
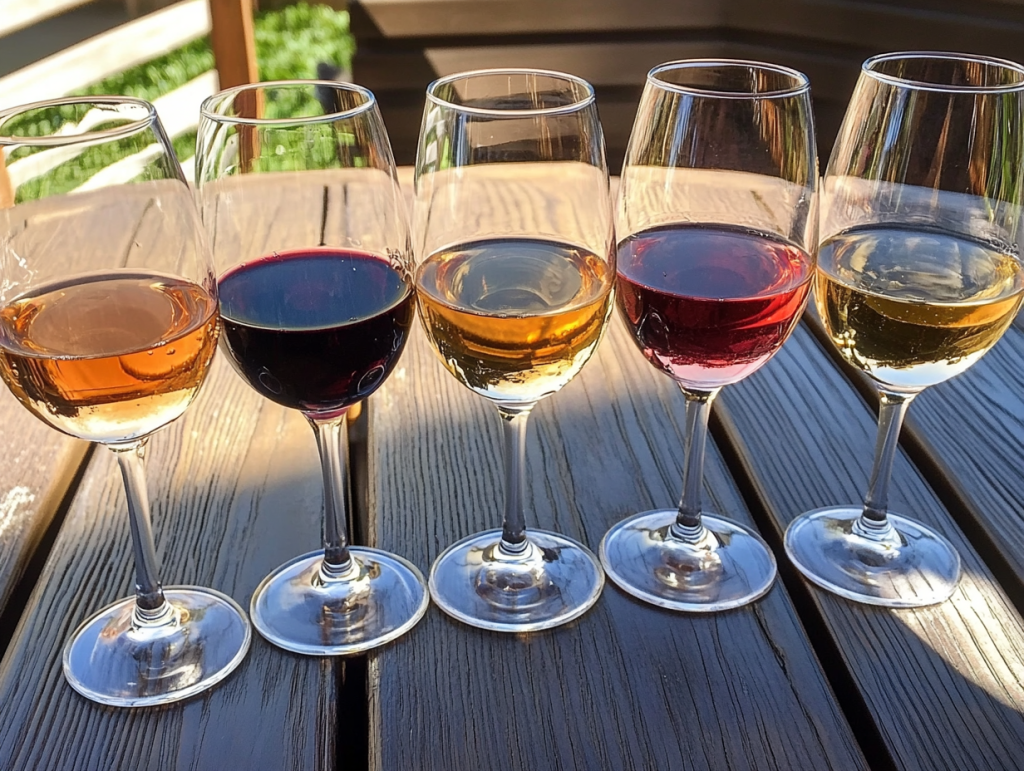
The biggest expense of any wine tasting is, unsurprisingly, the wine. But I discovered you can find excellent affordable wines that taste like they should cost much more. I aimed to offer a variety of styles without overwhelming guests, so I selected six bottles total: two whites, two reds, one rosé, and one sparkling.
Save $20 on your First Order of $150+ with Code: SAVER20
For whites, Trader Joe’s Petit Reserve Chenin Blanc ($7.99) and Bogle Vineyards Sauvignon Blanc ($9.99) were standout choices. The reds that received the most compliments were Josh Cellars Cabernet Sauvignon ($12.99) and a Kirkland Signature Rioja Reserva from Costco ($6.99) that tasted like a $30 bottle. For rosé, I chose Château Ste. Michelle ($8.99), and La Marca Prosecco ($13.99) provided the bubbles.
Before buying, I used the Vivino app to check ratings and ensure I wasn’t selecting duds. Learning about food and wine pairing fundamentals helped me plan which snacks would complement each wine type. I spent approximately $60 total on wines that would have cost three times as much at a commercial tasting.
Essential Supplies for Your DIY Wine Event
You don’t need professional sommelier equipment for a successful home wine event. Here’s my practical shopping list that kept costs minimal:
- Wine glasses (I used a mix of what I had, plus some $1 stemless glasses from Dollar Tree)
- Small paper plates for snacks
- Index cards and pens for tasting notes
- Water pitchers and cups for palate cleansing
- Ice bucket (I used a large mixing bowl)
- Bottle opener and wine stoppers
- White table cloth or fabric (makes wines stand out visually)
- Pitcher for water (for rinsing between tastings)
- Paper bags (for blind tasting games)
- Small chalkboard signs or printed cards for wine descriptions
I printed simple tasting sheets with spaces for appearance, aroma, taste, and overall impression. This added a touch of structure without making it feel like a wine exam. For guests new to wine tasting, I included a brief guide to wine tasting terminology that helped everyone participate confidently.
Simple Food Pairings That Won’t Break the Bank

An elaborate food spread isn’t necessary for a successful wine tasting. I created a budget-friendly charcuterie board using mostly Aldi and Trader Joe’s items. The key is presenting simple ingredients attractively. My spread included:
- A variety of crackers (water crackers, wheat thins, and rosemary crisps)
- Two types of cheese (a soft brie and a sharp cheddar – buying blocks instead of pre-cut saves money)
- Grapes, apple slices, and dried apricots
- Olives and pickles from the grocery olive bar
- Salami slices (more economical than prosciutto)
- Plain almonds and cashews
- Dark chocolate squares (amazing with red wine)
The entire food spread cost under $35 and was more than enough for eight people. I arranged everything on wooden cutting boards and in small bowls I already owned. The presentation looked far more expensive than it was, and everyone commented on how well the snacks complemented the wines.
Fun Wine Tasting Games and Activities
To keep the evening entertaining and interactive, I planned a few simple wine tasting games that got everyone involved – even my friends who knew nothing about wine. The blind tasting contest was a hit – I covered bottles with paper bags, numbered them, and had guests try to identify the type of wine and guess the price point.
Another popular activity was wine and food matchmaking. I created cards with different foods (some on our charcuterie board, some not), and guests had to guess which wine would pair best with each food. This sparked great conversations about why certain flavors work together. After reading about high-end cabernet sauvignon, I included a “guess the expensive wine” challenge by slipping in one $30 bottle among the budget selections.
I created a collaborative playlist where everyone added their favorite relaxed evening songs ahead of time. The music played through a bluetooth speaker I already owned, creating the perfect soundtrack for our tasting adventure without any additional cost.
Structuring Your Home Wine Flight
Even though this was a casual backyard event, having a logical order for tasting enhanced everyone’s experience. I arranged wines from lightest to boldest, allowing guests’ palates to adjust gradually. The wine flight sequence I followed was:
- Sparkling (La Marca Prosecco) – the bubbles awakened everyone’s taste buds
- White wines (Chenin Blanc, then Sauvignon Blanc) – moving from sweeter to drier
- Rosé (Château Ste. Michelle) – a nice bridge between whites and reds
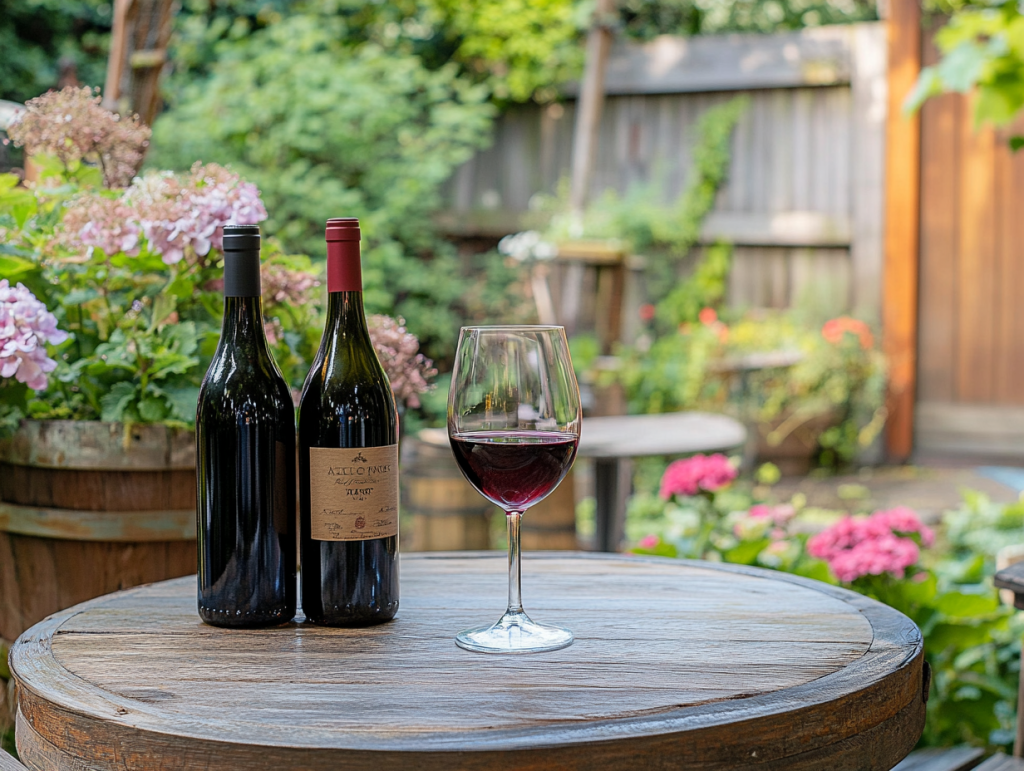
- Red wines (Rioja, then Cabernet Sauvignon) – saving the boldest for last
I poured about 2 ounces per tasting (roughly 1/4 glass), which allowed everyone to sample all wines while staying responsible. Between each wine, we took breaks to cleanse our palates with water and plain crackers. Since I’m not a certified sommelier, I didn’t pressure myself to sound like an expert. Instead, I shared a few fun facts about each wine region, much like they do during Sonoma Valley wine tastings.
Affordable Décor Touches That Make a Difference
Small decorative elements can transform a basic backyard into an enchanting wine garden. I found budget wine party decorations that made a big visual impact:
- Mason jars with floating tea lights along pathways
- Potted herbs (basil, rosemary, mint) as fragrant table centerpieces
- Cloth napkins (washed and ironed from a thrift store for $0.50 each)
- Wine corks scattered decoratively on tables
- Chalkboard signs with wine descriptions and tasting notes
- Fresh flowers picked from my garden arranged in empty wine bottles
I created a designated tasting area, casual lounging space, and a “wine bar” setup where bottles were displayed. This layout encouraged guests to move around and mingle throughout the evening. The entire décor budget was under $30, yet the atmosphere felt like an upscale vineyard event.
Timing and Planning Your Backyard Wine Event
Timing makes a significant difference for outdoor wine tastings. I scheduled my event to begin at 6:30pm, allowing guests to arrive while it was still light out but ensuring we’d experience the magical transition to evening when the string lights created ambiance.
I sent digital invitations two weeks in advance asking guests to arrive within a 30-minute window. This staggered arrival made greeting everyone more manageable. I planned for the structured tasting portion to last roughly 90 minutes, with casual socializing afterward. Many guests were curious about wine tourism destinations, which became a fun topic of conversation.
The day before, I prepped all food items that could be made ahead and created a simple timeline for myself to ensure I wouldn’t be rushing last minute. I set up most outdoor elements earlier in the day, leaving just the food and wine to bring out before guests arrived. This advance preparation meant I could actually enjoy the event instead of working through it.

Memories That Last Longer Than Wine Bottles
The beauty of hosting a backyard wine tasting isn’t just in the savings – it’s in creating an experience that feels personal and special. My friends still talk about our evening under the stars comparing cabernets and giggling through blind taste tests. The total cost came to less than $25 per person, yet the memories we created are priceless.
You don’t need to be a wine expert or have fancy equipment to host a successful tasting. With some creativity and simple planning, your backyard can become a wine lover’s paradise that rivals commercial experiences. I’ve since hosted seasonal tastings, each with different themes and wine selections, creating new traditions that my friends eagerly anticipate.
Have you hosted a backyard wine event or are you planning one? I’d love to hear your ideas and experiences in the comments below! Cheers to good wine, good friends, and backyard gatherings that don’t empty your wallet.